 Business License
EDI Module Repair
EDI Module Maintenance and Resin Replacement Guide
Purpose: This guide outlines the steps for basic maintenance of an EDI (Electrodeionization) module, focusing on resin replacement, to restore module performance when a decrease in water quality or increased pressure drop is observed.
Safety First:
Wear appropriate PPE (safety glasses, gloves, chemical-resistant apron).
Isolate the EDI module from the system. Follow Lockout/Tagout (LOTO) procedures.
Release all pressure and drain water from the module before starting.
Consult the module’s specific manual from the manufacturer (e.g., Ionpure, Evoqua, Suez) for detailed specifications.
Part A: Diagnosis & Preparation
1. Symptoms Requiring Resin Replacement:
Persistent low water quality: Inability to achieve >16 MΩ·cm resistivity even after regeneration/cleaning cycles.
High pressure drop: Increased differential pressure across the module indicating channel blockage.
Visible resin degradation: Discoloration (dark brown/black), broken beads found in downstream filters.
Loss of performance confirmed by process data and ruling out other causes (RO issues, poor feed water, electrical problems).
2. Tools & Materials Required:
New, manufacturer-recommended mixed-bed ion exchange resin.
Wrenches (spanner or socket set).
Clean containers, funnels, and soft tubing.
Soft rubber mallet.
Clean lint-free cloths.
Silicone grease.
Deionized (DI) or RO water for rinsing.
Part B: Step-by-Step Resin Replacement Procedure
Step 1: Isolation & Draining
Shut off power to the EDI stack.
Close inlet and outlet valves. Isolate the module.
Open drain valves to release all water pressure. Ensure the module is completely empty.
Step 2: Disassembly
Label all hoses/connections before disconnecting.
Disconnect all piping and electrical connections (electrode leads).
Carefully unbolt the end plates or headers using the correct wrench. Note the order of components (plates, gaskets, spacers).
Gently separate the stack. Lay components in order on a clean, soft surface.
Step 3: Resin Removal & Chamber Cleaning
Remove old resin: Pour the exhausted resin from each cell chamber into a waste container. You may gently tap the stack with a soft mallet to dislodge resin.
Inspect & Clean:
Visually inspect membranes and electrode plates for scaling, tears, or damage. Replace if necessary.
Thoroughly rinse each cell chamber and all components with DI water to remove all resin fines and debris.
Wipe surfaces with a clean cloth.
Step 4: New Resin Loading
Prepare resin: Hydrate the new mixed-bed resin as per the manufacturer’s instructions (typically soaking in DI water).
Fill chambers: Using a funnel and soft tubing, slowly and carefully fill each cell chamber with the prepared resin slurry. Avoid spilling resin between chambers or on gasket surfaces.
Ensure complete filling: Tap the stack gently to settle the resin and eliminate air pockets. Top up as needed.
Step 5: Reassembly
Clean gasket surfaces: Ensure all O-rings and gasket surfaces are perfectly clean.
Apply silicone grease: Lightly apply a thin film of silicone grease to O-rings.
Reassemble in reverse order: Carefully align and stack components in the exact original sequence. Follow the manufacturer’s specified torque pattern and values when tightening bolts to ensure even pressure and prevent leaks. Overtightening can damage the stack.
Step 6: Reintegration & Startup
Reconnect all piping and electrical leads.
Initial rinse: With outlet valves open, slowly feed RO/DI water into the module to flush out any air and fine particles. Do not apply power yet.
Leak check: Inspect all connections for leaks under low pressure.
Power on & commissioning: Restore power. Initiate a startup procedure as per the system manual. Monitor pressure drop and outlet water resistivity closely.
Performance verification: Allow the system to stabilize. The product water resistivity should gradually rise to the specified target (>16 MΩ·cm).
Important Notes:
Preventative Maintenance: Regular CIP (Clean-In-Place) with recommended cleaners can extend resin life.
Root Cause Analysis: Investigate why the resin failed (e.g., upstream RO failure, chlorine breakthrough, microbial fouling) to prevent rapid recurrence.
Professional Service: For complex issues or if unsure, contact the equipment manufacturer or a qualified service technician.
By following these steps, you can effectively restore the performance of your EDI module, ensuring the continuous production of high-purity water.
Recently Posted
-
EDI Module in Water Treatment: How It Works and Applications
August 24, 2026EDI Module in Water Treatment: How Electrodeionization Works and Where It Is UsedIntroductionFor industrial processes that require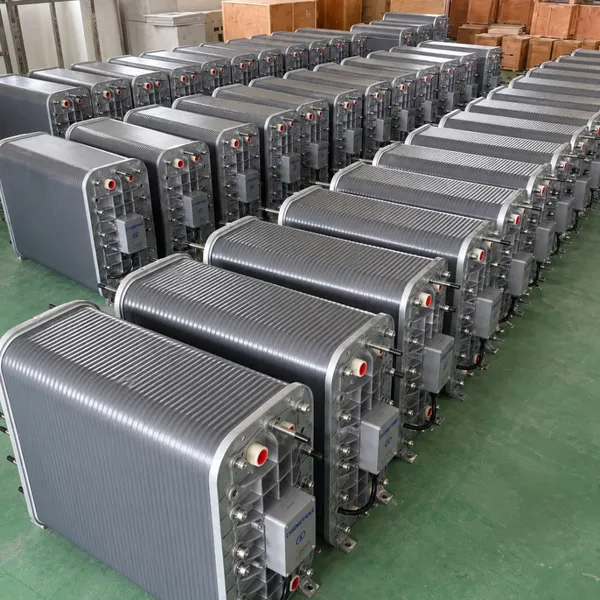 Read More
 -
Choosing the Right RO + EDI Water System Manufacturer
May 12, 2026How to Choose a Clean Water System SupplierSelecting the right clean water system supplier is one of the most important decisions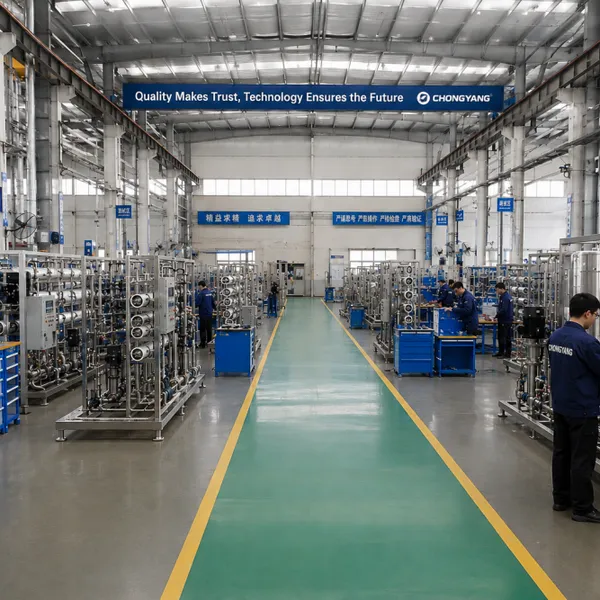 Read More
 -
Ozone Disinfection in Pharma Water: Pros & Cons
May 12, 2026Ozone Disinfection in Pharma Water: Pros & Cons1. IntroductionWater quality control is one of the most important parts of high Read More
 -
Pharma Water Storage & Distribution Loop Design
May 11, 2026Pharma Water Storage & Distribution Loop Design1. IntroductionA reliable storage and distribution system is one of the most im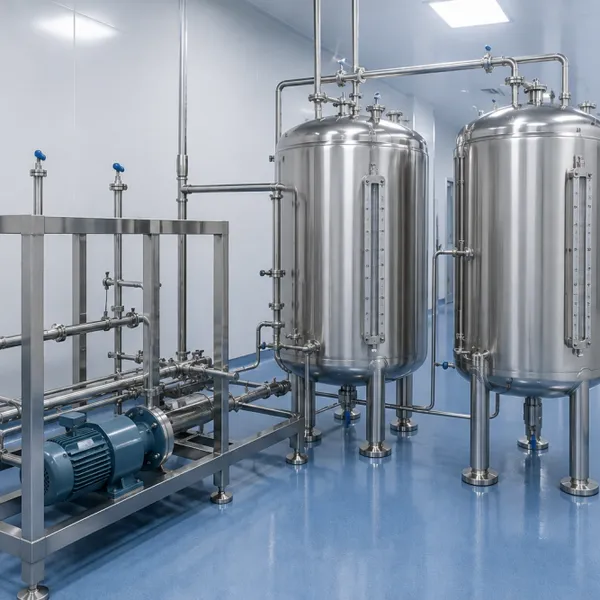 Read More

Contact Us
Recommended Products
-
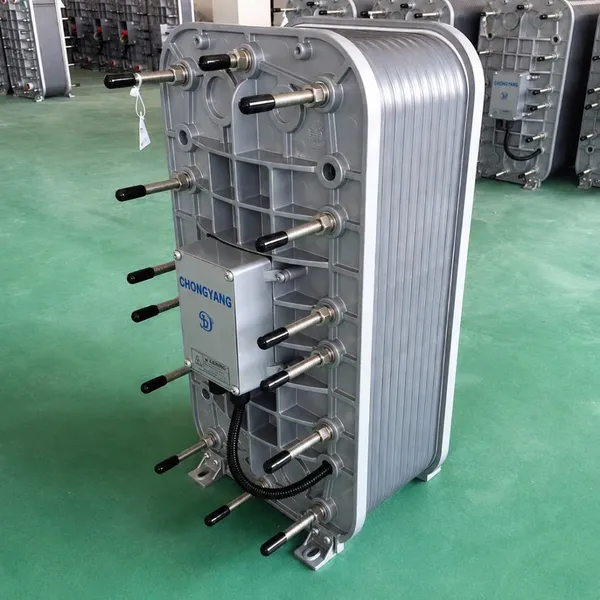
 Industrial EDI Cell for High Purity Water Treatment SystemsUS$ 50 - 60MOQ: 1 Piece
 -
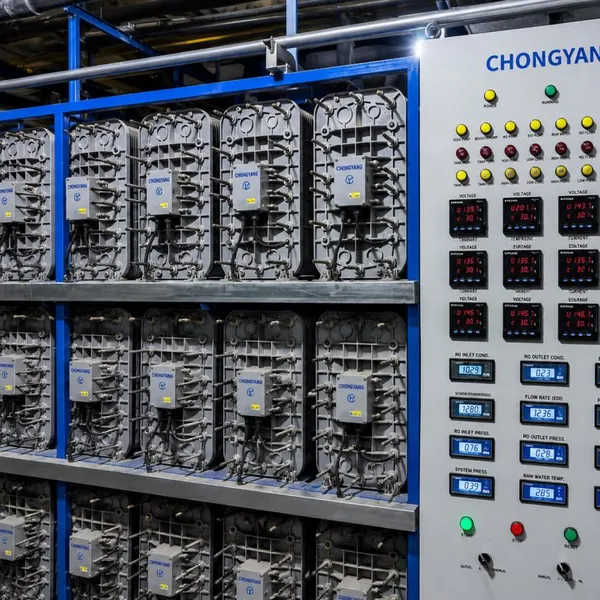
EDI Module for High Purity Water Treatment SystemsUS$ 10000 - 100000MOQ: 1 Set
-
Industrial EDI Module for RO EDI Water Treatment System High Purity Water ProductionUS$ 10000 - 100000MOQ: 1 Set
-
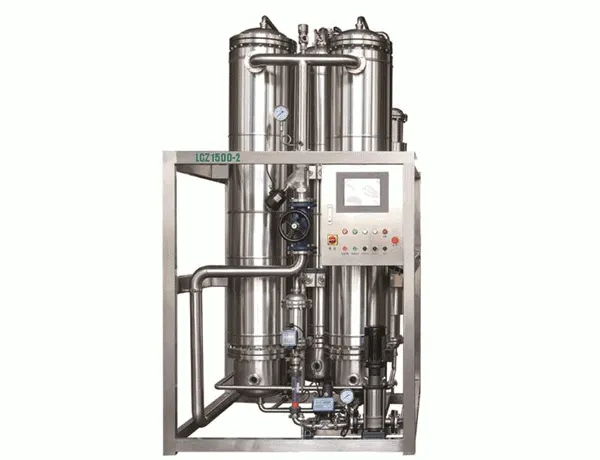
Pure Steam Generator Pharmaceutical/Pure Steam Generator Pirce /Pure Steam Generator Process Flow DiagramUS$ 10000 - 20000MOQ: 1 Unit
-
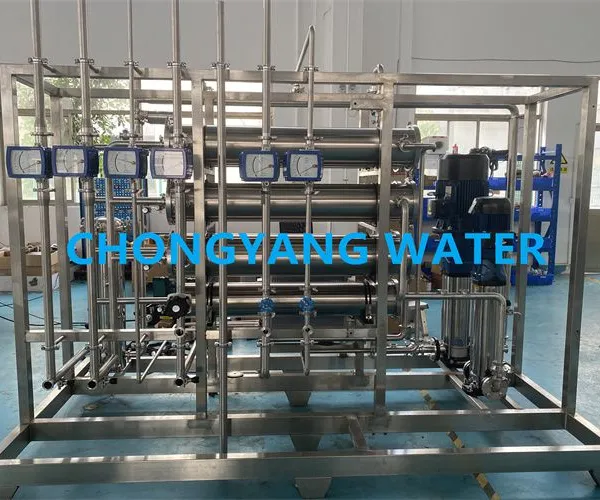
PACKAGED REVERSE OSMOSIS + ELECTRODEIONIZATION FOR PURIFIED WATERUS$ 10000 - 100000MOQ: 1 Set
-
BIOPHARMACEUTICAL WATER PURIFICATIONUS$ 10000 - 100000MOQ: 1 Set
-
PSG Pure Steam Generator,Pure Steam Generators Pharmaceutical ,Pharmaceutical Plant Steam ProductionUS$ 10000 - 20000MOQ: 1 Unit
-
ISO Pure Steam Generator Generation System In Pharmaceutical IndustryUS$ 10000 - 20000MOQ: 1 Unit
-
200KGS 300KGS 500KGS Pure Steam Generation System Clean Steam Generator For HumidificationUS$ 10000 - 20000MOQ: 1 Unit
-
Steam Generator Cleaner For Humidification For Pipe Equipment DisinfectionUS$ 10000 - 20000MOQ: 1 Unit
-
Clean Utilities Pure Steam Generator For Pharmaceutical IndustryUS$ 10000 - 20000MOQ: 1 Unit
-
Electric Clean Steam Generator For SterilizationUS$ 10000 - 20000MOQ: 1 Unit
-
Pure Steam Generator Steam To Steam Electric Clean Steam GeneratorUS$ 10000 - 20000MOQ: 1 Unit
-
300KGS Pure Clean Steam Generator For Pharmaceutical IndustryUS$ 10000 - 20000MOQ: 1 Unit
-
100KGS PSG Pure Steam Generator SS316L Clean Steam Generator For SterilizationUS$ 10000 - 20000MOQ: 1 Unit
-
Stainless Steel Water Distiller For Injection Distilled Water Maker MachineUS$ 10000 - 10000MOQ: 1 Set
-
SS316L Multi Column Distillation Plant Four Effects Distilled Water Making Machine For In Vitro Diagnostic ReagentUS$ 10000 - 10000MOQ: 1 Set
-
China Multi Effect Distillation /Multi Column Distillation PlantUS$ 10000 - 10000MOQ: 1 Set
-
FDA ,cGMP ,GMP Standard Purity Water Purifier ,Reverse Osmosis Water for Pharmaceutical IndustryUS$ 10000 - 100000MOQ: 1 Set
-
USP, EP and JP Standards Water for Injection Systems and Storage and Distribution SystemsUS$ 10000 - 100000MOQ: 1 Set